Jenkins is an open source Continuous Integration tool written in Java. It is used to build and test your software projects continuously making it easier for developers to find and solve defects in a code base rapidly and to automate testing of their builds.
Here i am accessing the server with root privileged. First of all we need to install java since jenkins is a java application. To install java execute the following command.
#yum install java-1.8.0-openjdk-develWe have to enable the jenkin repository by importing the gpg key using curl.
#curl --silent --location http://pkg.jenkins-ci.org/redhat-stable/jenkins.repo |tee /etc/yum.repos.d/jenkins.repoNow add the repository to our system and run update so yum will use new repository.
#rpm --import https://jenkins-ci.org/redhat/jenkins-ci.org.key

# yum update
We can install jenkins by using the following command
#yum install jenkins.After the installation we can start the jenkins using the below command,
#systemctl start jenkinsIn order to verify the service has been started,run the command
#systemctl status jenkinsThe above command displays an output like this :
 systemctl status jenkins
● jenkins.service - LSB: Jenkins Automation Server
   Loaded: loaded (/etc/rc.d/init.d/jenkins; bad; vendor preset: disabled)
   Active: active (running) since Mon 2019-03-18 07:36:36 UTC; 6s ago
     Docs: man:systemd-sysv-generator(8)
  Process: 23980 ExecStart=/etc/rc.d/init.d/jenkins start (code=exited, status=0/SUCCESS)
   CGroup: /system.slice/jenkins.service
           └─24007 /etc/alternatives/java -Dcom.sun.akuma.Daemon=daemonized -Djava.awt.headless=true -DJENKINS_HOME=/var/lib/jenkins -jar /usr/lib/jenkins/jenkins.war --logfile=/var/log/jenkins/j...
Now the jenkins is up,we need to configure the firewall inorder to reach jenkins from a web browser.
Jenkins runs on port 8080 by default,so we have to open that port in firewall.
Steps to open the port via command line.
Open the configuration file of csf using vim.
#Vi /etc/csf/csf.confOnce you are in the configuration file, find “TCP_IN=”, it will be under “# Allow incoming TCP ports”.
TCP_IN=
Within the quotation marks, put the port number 8080.
Close the file and save all changes and now restart the firewall using the command.
#csf -rNow we’ll visit the jenkins on default port using server domain name or ip address in the web browser.
https://ip or domain:8080It loads a screen similar to the given image which asks you to provide administrator password. You can obtain the password from the command line as
#cat /var/lib/jenkins/secrets/initialAdminPassword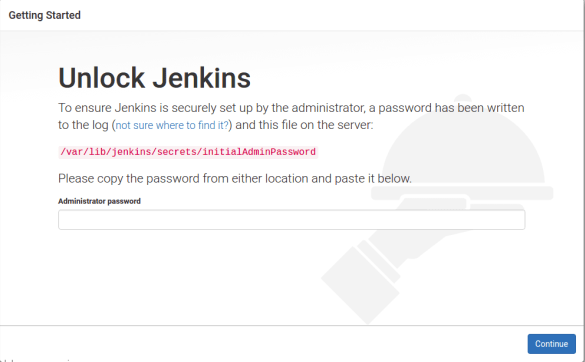
copy the password from the terminal and paste it into the Administrator password. By clicking continue, a next screen loads and presents the option to “install suggested plugins or select plugins to install”. We’ll go for the “Install suggested plugins” option, which will immediately begin the installation process.
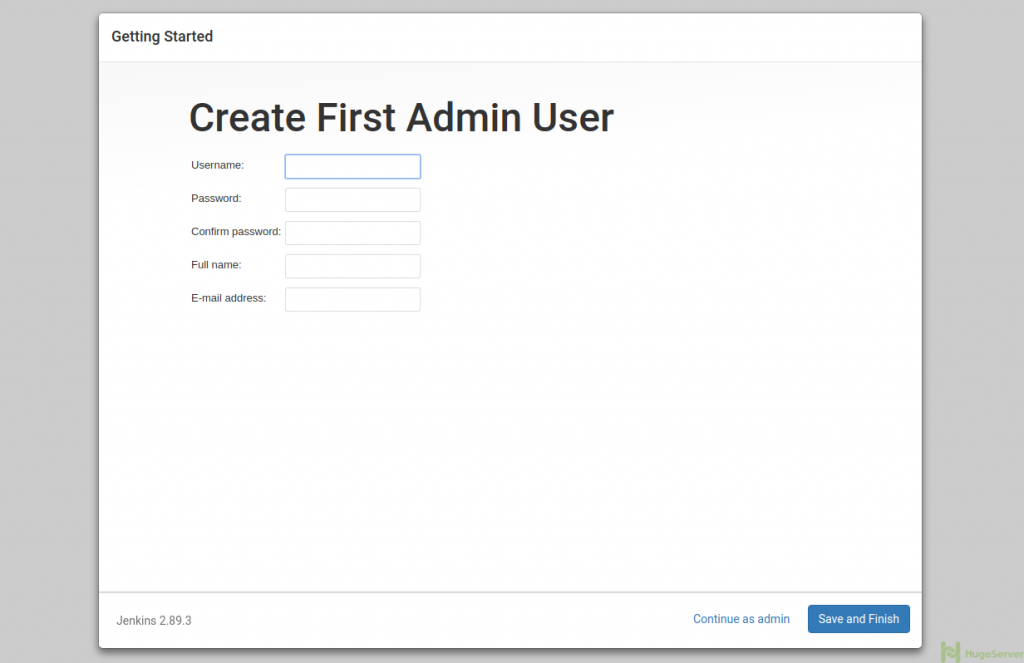
After the installation,a new screen will be prompted to create first admin user.
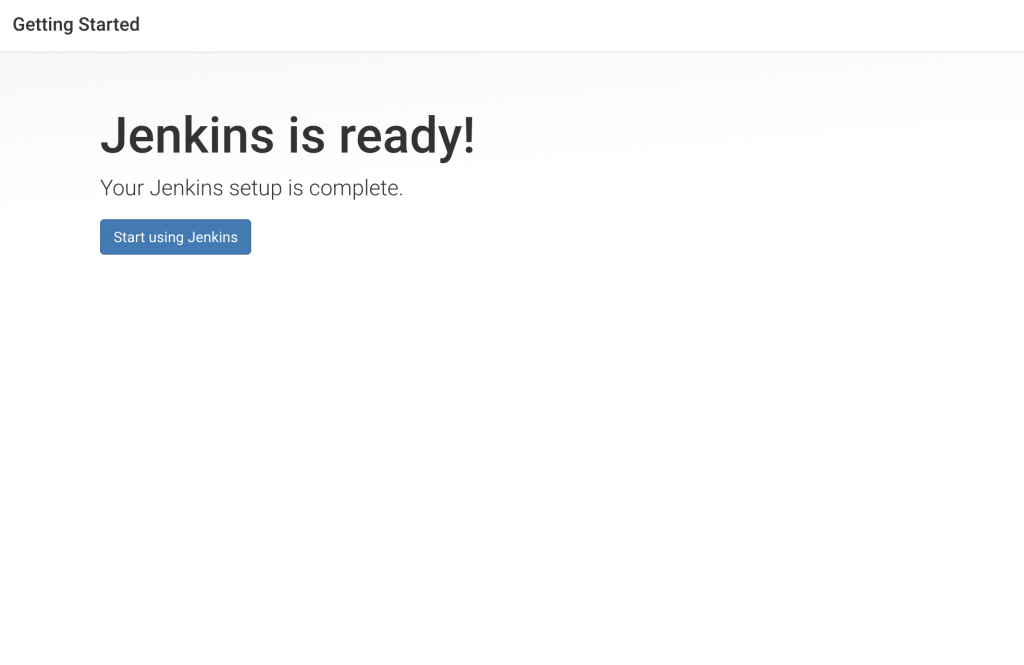
Once the first admin user is in place,we can see a “Jenkins is ready!” confirmation screen.