JIRA is a issue tracking product, It is used for bug tracking, issue tracking, and project management system. In this blog, I will explain that how to install and configure latest version of JIRA on a Centos.This blog will help you to configure a JIRA with MySQL.
Requirement
JIRA require at least 1GB of RAM. If you not use a swap file, I recommend over 2GB of RAM.root privileges
JAVA software package is require for JIRA establishment. First. You need to install the java software package “java-1.8.0-openjdk-devel “on your centos server.
# yum install -y java-1.8.0-openjdk-devel
# java -version
If installation is success, you see the following output
# java -version
openjdk version "1.8.0_201"
OpenJDK Runtime Environment (build 1.8.0_201-b09)
OpenJDK 64-Bit Server VM (build 25.201-b09, mixed mode)
#
To install Jira on CentOS, please refer the following steps:
You need to download the latest JIRA Installer (.bin) file from the JIRA official page or given link to directory /opt
# cd /opt
#wget https://www.atlassian.com/software/jira/downloads/binary/atlassian-jira-software-7.3.0-x64.bin
After that, give the execute permission to .bin file and install JIRA.
#chmod +a atlassian-jira-software-7.3.0-x64.bin
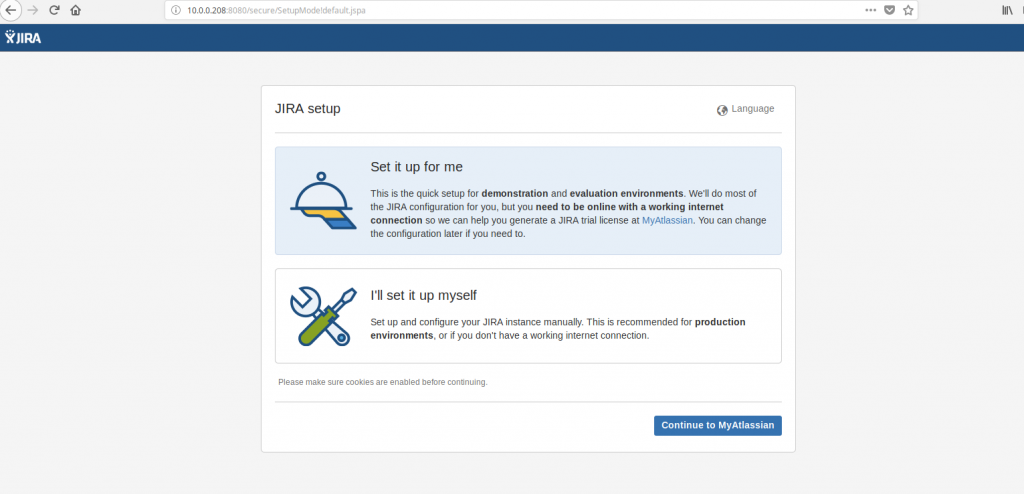
#./atlassian-jira-software-7.3.0-x64.binAfter you successful installation Jira, login URL is displayed and use it to login
http://server-ip:8080
or
http://server-hostname:8080
To connect JIRA with MySQL, you need to copy the MySQL JDBC driver to your Jira server. Also, Copy the MySQL JDBC driver jar file to the JIRA installation directory /opt/atlassian/jira/lib/ . Also create a database and new user for JIRA.Also, you give the full permission for JIRA mysql user.
To configure the MySQL database
To create a database user for JIRA using following command:
#mysql -u root -p

   CREATE DATABASE jiradb CHARACTER SET utf8 COLLATE utf8_bin;

   grant all privileges on jiradb.* to 'jira'@'%' identified by 'syslint123!@#';

   flush privileges;
   exit
Copy the MySQL JDBC driver to your Jira server
After you installing the JIRA, you require MySQL Connector driver. You can download either the .tar.gz or the .zip file from official site. Otherwise, you can use the following command:
# cd /opt
# wget http://dev.mysql.com/get/Downloads/Connector-J/mysql-connector-java-5.1.35.tar.gz
Extract the archive file
# tar -zxvf mysql-connector-java-5.1.35.tar.gzCopy the MySQL JDBC driver jar file to the JIRA installation directory /opt/atlassian/jira/lib/
# cd /opt/mysql-connector-java-5.1.35
# cp mysql-connector-java-5.1.35-bin.jar /opt/atlassian/jira/lib/
To restart Jira Service
# cd /opt/atlassian/jira/bin/
# ./shutdown.sh
# ./startup.sh