How To Install Ruby on Rails with rbenv on CentOS 7 or RHEL 7
Index
1. Introduction
This article helps you install and configure Ruby on Rails on CentOS 7. By following some simple steps you can start riding on rails. Please feel free to let us know if you got struck anywhere, we will help you fix it.
2. Prerequisites
Here, We assume that you are having a CentOS 7 installed server with root access. Before continuing the installation we need to install LAMP/LEMP. You can follow the link to install LAMP and then proceed with the installation.
3. Installation
First of all, let me provide you a very short description about Ruby on Rails. Ruby is a programming language and while rails is just a Web application frame work which works on the principle (Model-View-Controller) MVC. Ruby on Rails is nothing but simply a web application framework written in Ruby. You can check there official link rubyonrails.org to know more.
3.1. Installation of Rbenv
Rbenv is a ruby version management tool. We will use this to install and manage our Ruby installation. So let’s start the installation of rbenv.
Installing the dependencies of Rbenv and Ruby. Use the following commands to install the dependencies.
# yum install -y git-core zlib zlib-devel gcc-c++ patch readline readline-devel libyaml-devel libffi-devel openssl-devel make bzip2 autoconf automake libtool bison curl sqlite-devel
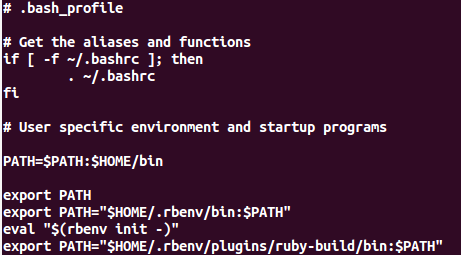
Now we are going to edit the bash profile file of the user who is going to use ruby. So make sure to take a backup of the .bash_profile at first . Then you may execute the following commands as the same user.
# cd
# git clone git://github.com/sstephenson/rbenv.git .rbenv
# echo 'export PATH="$HOME/.rbenv/bin:$PATH"' >> ~/.bash_profile
# echo 'eval "$(rbenv init -)"' >> ~/.bash_profile
# source ~/.bash_profile
# git clone git://github.com/sstephenson/ruby-build.git ~/.rbenv/plugins/ruby-build
# echo 'export PATH="$HOME/.rbenv/plugins/ruby-build/bin:$PATH"' >> ~/.bash_profile
# source ~/.bash_profile
Your bash profile look like the screen shot given below.
Thus you have installed rbenv. After completing this step, please open a new terminal to start using rbenv otherwise it will show “rbenv not found error”. Now we are ready to install Ruby.
3.2 Installation of Ruby
Before starting the installation, Check which version of ruby you want to install. Here, We are installing Ruby 2.2.1.
You may execute the commands below to install Ruby.
# rbenv install -v 2.2.1
The next step is to sets the default version of Ruby that all of your shells will use. If you want to install and use a different version, simply run the rbenv commands with a different version number.
# rbenv global 2.2.1
You can verify the installation using the command below. It will show you the version and details of the installation.
[root@hostname-centos7 ~]# ruby -v
ruby 2.2.1p85 (2015-02-26 revision 49769) [x86_64-linux]
Most of us do not want the documentation of each gems we install. If you would like to disable this, you may execute the command as below.
# echo "gem: --no-document" > ~/.gemrc
Now, Install the bundler gem which is used to manage your application dependencies using the following commands.
# gem install bundgem install bundlerler
Thus the Ruby is installed. Now we can move on to the installation of Rails.
3.3 Installation of Rails
As the same user who installed Ruby, execute the command below to install Rails. Here, We are installing Rails 4.2.0 version.
# gem install rails -v 4.2.0
We need to run rbenv rehash command whenever we use gem. to install/uninstall. The rbenv normally runs rbenv rehash automatically when you install/uninstall using gem. But to make sure, you may execute following command every time you use gem command.
# rbenv rehash
To check the version of Rails, you can execute the command below.
[root@hostname-centos7 ~]# rails -v
Rails 4.2.0
Thus, We have completed the installation of Ruby on Rails.
4. Apache Configuration (Configuring Ruby to run on Port 80)
Normally, The Ruby on Rails application run on port 3000. So, we need to specify the port all the time we access any of the ruby application. To avoid this, We made here a very simple proxy setup in apache configuration. The configuration is as follows.
ServerName testing.myruby.com
ProxyPreserveHost On
ProxyPass / http://yourip:3000/
ProxyPassReverse / http://yourip:3000/
In the above configuration, you need to specify your IP address instead “yourip” and save the file. After that, you may just restart the apache to reflect the changes.
# systemctl restart httpd
Thus the proxy setup via apache configuration is completed. Now we can test its working by creating an application.
5. Create a Test Application
To make sure that the Ruby on Rails installation completed successfully, We can create a test application by following the steps below.
Create an application in your home directory as follows:
# cd ~
# rails new testapp
Now, move on to the application directory:
# cd testapp
Then, create a sqlite3 database:
# rake db:create
Thus the configuration has been completed. Now, you can start your application by following the commands. Look at the screenshot below.
# rails server --binding=server_public_IP
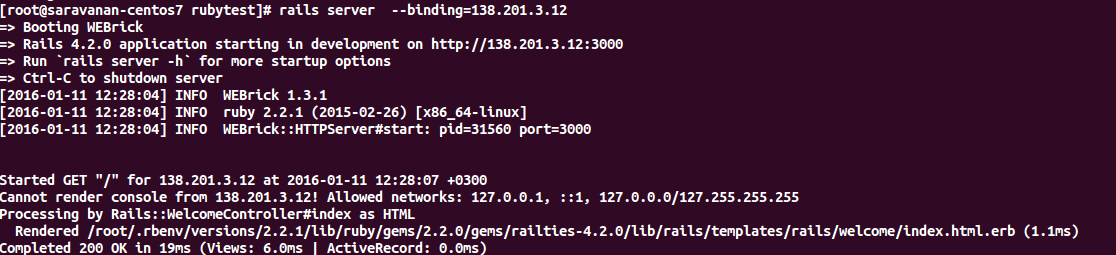
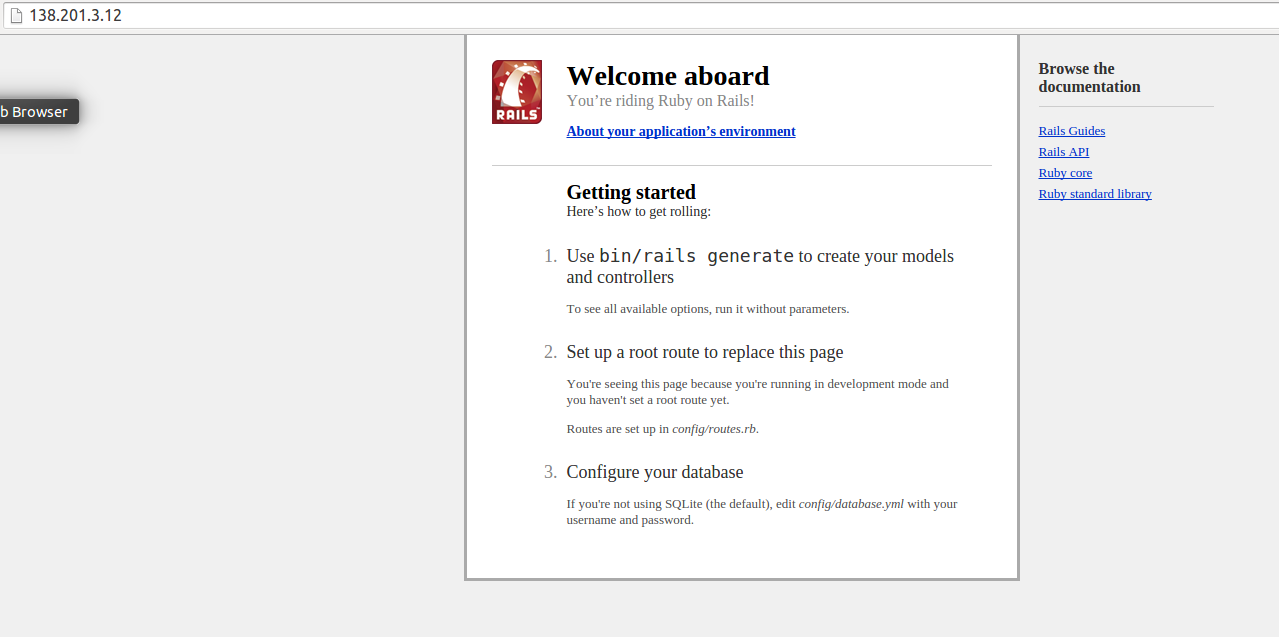
If it is running properly, You will get a welcome aboard page by visiting the URL below.
http://your_server_public_IP
You will see a welcome aboard page. It is the smoke test for a new Rails application. it makes sure that you have your software configured correctly enough to serve a page.
6. Conclusion
Thus you are ready to start developing your new Ruby on Rails application. Enjoy !!
This returned an error: gem install bundgem install bundlerler
Had to change it to:
$ gem install bundlegem
$ gem install bundler
Excellent stuff nevertheless!